LEARN HOW TO BREW
Pour over
Pour over is a simple way to brew a perfect cup of coffee that will reveal fundamental coffee tastes and flavours.
Pour over brewing methods refer to manual brewing methods which are used to brew coffee by percolation. Water passes through a certain amount of ground coffee, extracting the flavour and creating the coffee drink.
Brewing fundamentals
Whichever pour over method you’ll use there are universal brewing fundamentals you should take into consideration while brewing.
Grinding
Grind straight before brewing
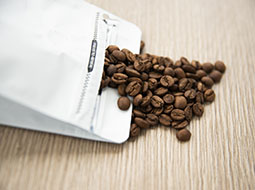
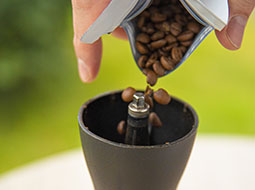
Freshly ground coffee beans are an important step towards a great cup of coffee. Using already ground coffee is not incorrect especially if you are using a recently opened coffee bag. However, grinding coffee beans straight before brewing them will take your cup to the next level. Freshly ground coffee will expose more flavours in a brewed cup of coffee.
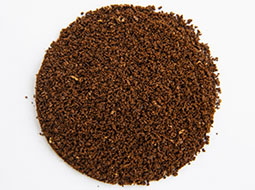
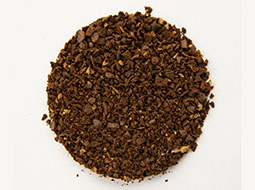
Overextracted—Underextracted
The general advice on grinding coffee is that a finer grind will slow down the water that goes through coffee. Contrary, with a coarser grind water will quickly pass-through coffee. Both end sides will make your coffee bad extracted.
Too fine → Overextracted—Too coarse → Underextracted.
What grind size is appropriate to start brewing pour over?
If you’re not sure what grind size is appropriate for your coffee, the best way to start is to grind your coffee medium. You can check "Add new coffee" Step 2: how does medium grind look? Brew your coffee with medium grind; brewing time will tell you whether your grind works well. If your brewing is too slow you’ll have to set your grinder a little coarser. On the contrary, if the brewing is too fast adjust your grinder to finer settings.
Also, when grinding it’s more preferable to use a burr grinder instead of blade. A blade grinder will give you more fineness which will give bitterness to your coffee. Using a burr grinder the coffee will be evenly ground and extraction will be greater hence producing a better cup.
Amount of coffee
Standard amount
There is no golden advice as to how much coffee to use, but according to SCA (Specialty Coffee Association) 22g of ground coffee is standard for single cup brewing. This amount will be a good starting point, though this can be changed according to your preferences.
Also, the amount of coffee could vary depending on the brewing method (Chemex, Hario V60, Clever dripper) and the desired amount of coffee drink.
Ratio
The amount of coffee and water will determine what ratio is going to be used. The suggested amount of 22 g of coffee paired with 400 g of water will yield a ratio of 1:18 (SCA standard single cup ratio). The ratio is calculated as follows: 400 g of water (1 ml = 1 g) divided by 22 g of coffee which is equal to 18. The ratio that we recommend ranges from 1:14 to 1:18, but you can try everything from 1:10 to 1:20.
Brewing time
Brewing time refers to how long the coffee is in the contact with water. It is determined by:
- Grind size
- The amount of coffee
- Water supply
What grind size, amount of coffee and water supply to use? There is no right answer to this question. Every coffee is different, and different coffees require different brewing recipes. The different combinations of grind size, the amount of coffee and water supply will make a cup of coffee having various flavours exposed. Although, we can give some general advice:
Grind size
A finer grind will add more strength to your coffee and brewing time will be longer (more extracted)— For a coarser grind the cup will be weaker and brewing time will be shorter (less extracted). Overextracted →bitter taste. Underextracted→sour taste
The amount of coffee
A larger amount of coffee needs more time to be brewed. A longer brewing time results in a cup which is more extracted.
Water supply
This refers to how quickly you add water. Adding water slowly will extend the brewing time, and at the same time more from the coffee will be extracted.
Brewing equipment
Simple equipment is needed to brew a cup of coffee that will take the most from your beans. All the equipment is affordable and available at your local store.
Basic equipment is defined below and will help you brew a great cup of coffee and get the data that will help you find a perfect recipe. Also, using a swan-neck kettle will give you more control when adding water over the coffee.
Elementary tools:
- Dripper: Hario V60, Chemex, Flat bottom drippers
- Paper filter (could be Metal or Cloth)
- Grinder—preferably Burr
- Gram scale
- Coffee Mug
Brewing coffee
STEP – BY - STEP
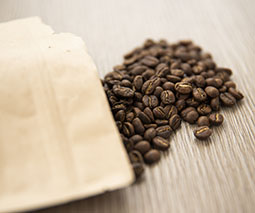
Every brew starts with a good coffee beans
PREPARATION
-
Boil a water—weigh coffee
Weigh your coffee beans. Start boiling fresh water (if you decide to use 300 ml of water, boil more than that, because you will need it to rinse your filter and warm your cup: we suggest 500 ml of water).
-
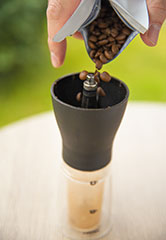
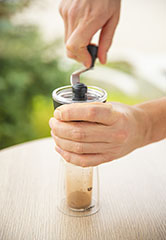
Grind your coffee.
Grind your coffee medium (a little coarser than table salt).
-
Rinse your paper filter
With boiled water rinse the paper filter that was placed into the brewer, at the same time you will warm your mug (this will help you reduce or clean any paper taste that can affect your coffee). After the water has passed through the filter remove the water from the mug.
-
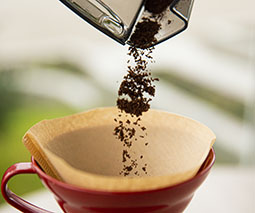
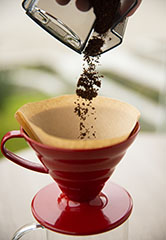
Add ground coffee to a dripper—filter.
Put the dipper together with a mug on the scale and set it 0, and start with adding water
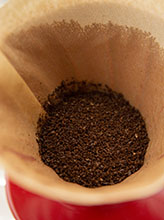
BREWING
-
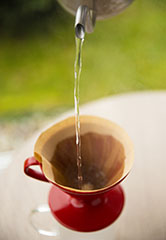
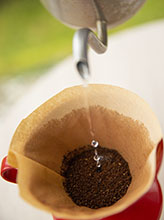
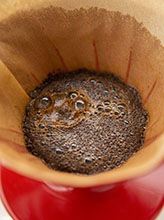
Blooming—first pour (time when extraction starts)
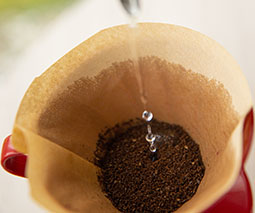
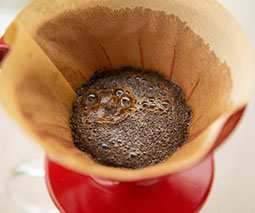
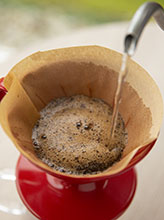
a) Pour water on the coffee, twice as much as the coffee weight (don’t forget to start your timer). Make sure all the coffee grounds are wet. This will pre-wet your coffee and trigger the extraction, the coffee will release trapped carbon dioxide and your coffee will be better extracted with the water that will be added.
b) Keep blooming for 30-45 seconds. After that you can start with pouring the rest of the water.
-
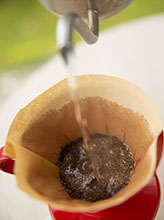
Pouring the remaining water
a) There is a lot of advice regarding available pouring online, some of this is quite complicated. The only advice we’ll give is to divide your water pouring into a 3-5 pours and try to cover 2/3 of the dripper with water, pouring the water around the cup but avoid pouring the water directly on the walls.
b) You can keep your water in the dripper constant, or you can add water at pre-determined time intervals. It’s all down to your preferences.
c) Remember that if you are adding water slowly, brewing will last longer and the coffee will become more extracted.
-
Brewing is done
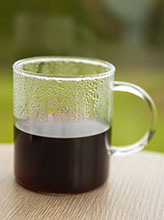
When you hit the desired amount of water (using a scale you will be able to know the exact measurement of added water as well as coffee) you’ll know you are done.
Having finished with brewing don’t forget to enter your coffees via CoffeeToCup. All the entered data will be available on your profile.
If you’re not sure what recipe to use check the Coffees page and find one.